


Creating Your Own Snow Globe: A Winter Craft Adventure
Snow globes have a magical allure, captivating both children and adults with their swirling snow and miniature worlds. Crafting your own snow globe can be a delightful winter activity, allowing you to personalize a whimsical scene and infuse it with your creativity. Whether you’re gifting it to a loved one or adding it to your seasonal decor, making a snow globe is a fun and rewarding experience. Here’s a step-by-step guide to help you craft your own enchanting snow globe:
Materials You’ll Need:
- Glass jar with a lid
- Waterproof adhesive (such as waterproof epoxy or silicone sealant)
- Distilled water
- Glycerin or baby oil
- Glitter or faux snow
- Small waterproof figurines or ornaments
- Optional: decorative elements like small beads, faux foliage, or tiny houses
Step 1: Choose Your Container: Select a glass jar or container with a secure lid. Mason jars, jelly jars, or even small fishbowls can work well for this purpose. Ensure that the container is clean and dry before you begin.
Step 2: Select Your Scene: Consider the theme of your snow globe. Will it feature a snowy landscape with trees and animals, or perhaps a festive scene with miniature holiday decorations? Choose small figurines or ornaments that fit the scale of your jar and evoke the atmosphere you desire.
Step 3: Attach Your Figurines: Using waterproof adhesive, securely attach your figurines to the inside of the jar lid. Allow the adhesive to dry completely according to the manufacturer’s instructions. Ensure that the figurines are positioned in a way that allows them to be visible when the snow globe is assembled.
Step 4: Add Snow and Sparkle: Pour distilled water into the jar, leaving some space at the top to prevent overflow when you add the lid. Add a few drops of glycerin or baby oil to the water – this helps the glitter or faux snow fall more slowly, creating a mesmerizing effect. Sprinkle glitter or faux snow into the jar, adjusting the amount to achieve your desired level of sparkle.
Step 5: Seal the Globe: Carefully screw the lid onto the jar, making sure it is tightly secured. You may want to apply a layer of waterproof adhesive around the rim of the lid before sealing it to prevent any leaks. Allow the adhesive to dry completely before moving on to the next step.
Step 6: Shake and Enjoy: Once the adhesive has fully dried, gently shake your snow globe to watch the glitter or faux snow swirl around your miniature scene. Experiment with different shaking techniques to create different effects – gentle shakes will produce a light snowfall, while more vigorous shakes will create a blizzard-like flurry. Place your snow globe on a flat surface and enjoy the enchanting winter wonderland you’ve created.

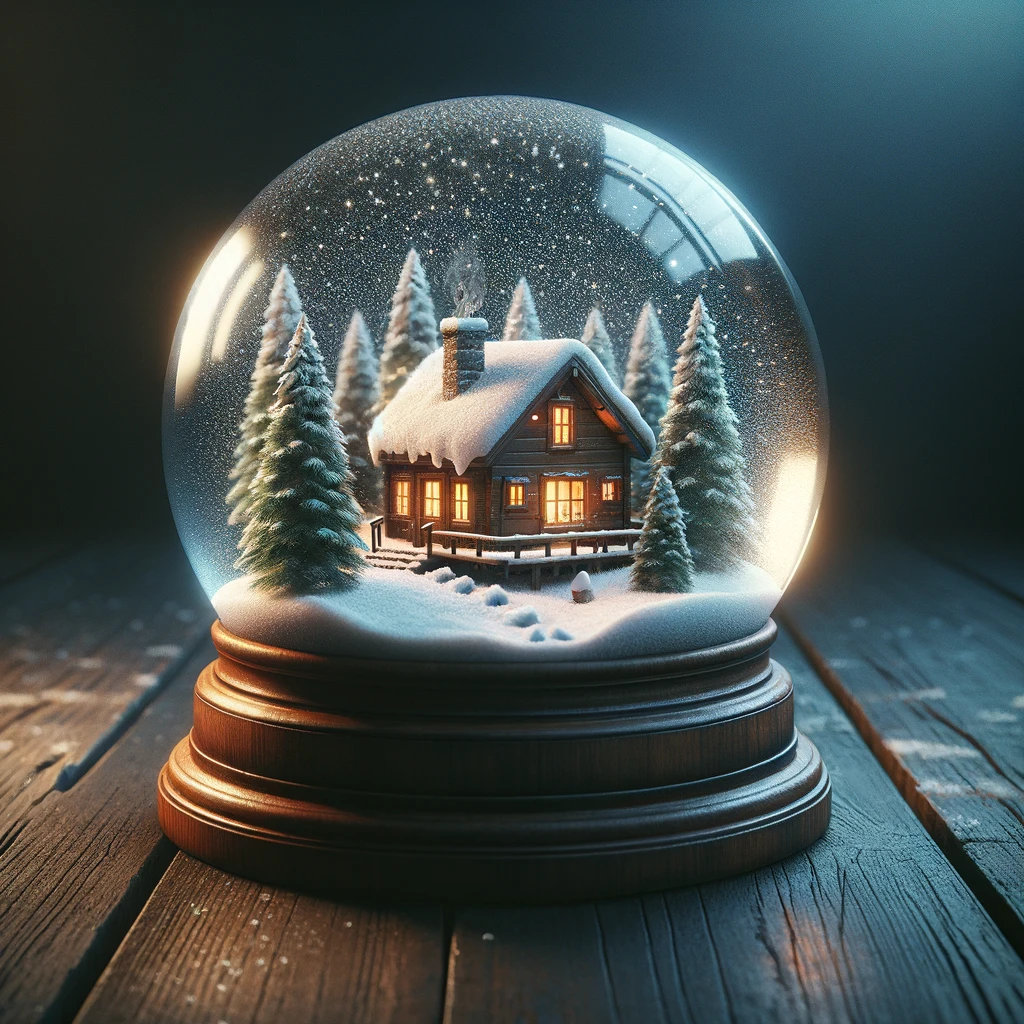
christmas snow globe
Step 7: Personalize and Display: Get creative with personalizing your snow globe! Add decorative elements like ribbons, bows, or labels to the outside of the jar to give it a festive touch. Consider creating a themed vignette around your snow globe by displaying it on a bed of faux snow or nestled among seasonal decorations. Whether it’s placed on a mantelpiece, a shelf, or a windowsill, your handmade snow globe is sure to bring joy and wonder throughout the winter season.
See more articles from Globe Trending
Leave feedback about this